
Sparta Paver Restoration: Seal Your Driveway Before Winter

If your paver driveway looks worn out every spring, the damage probably started the previous winter. Water soaks into unsealed pavers and open joints, freezes, expands, and loosens the base underneath. In Sparta and across Sussex County, that cycle shows up as shifted edges, sunken low spots, and stains that won’t rinse off with a garden hose. Paver restoration in Sparta NJ works best in the weeks before the first hard freeze, when the surface is dry, the weather cooperates, and small problems are still cheap to fix. Here is how we approach that window.
Table of Contents
- Quick Takeaways
- Why Winter Punishes Paver Driveways
- Restoration Versus Routine Washing
- Cleaning and Drying Before You Seal
- Joints, Low Spots, and Drainage
- Sealer Types Compared
- Timing Your Fall Driveway Job
- Frequently Asked Questions
- References
Quick Takeaways
| Key Insight | Explanation |
|---|---|
| Clean and fully dry the driveway before sealing | Sealer applied over dirt, tannin stains, or damp pavers traps moisture underneath and can haze or peel within a season. |
| Refill joints and fix low spots first | Water pooling in low spots and empty joints is what freezes and lifts pavers. Sealer alone does not solve a drainage problem. |
| Remove wet leaves now, not after the first frost | Leaves left on pavers for a week or more leave dark stains and hold moisture against the surface. |
| Match the sealer type to the paver and the look you want | Penetrating sealers protect with a natural finish. Film-forming sealers add color and gloss but need more upkeep. |
| Test water absorption before choosing a finish | A quick water test on a few spots shows whether the surface is ready for sealing and how thirsty the pavers are. |
| Book before the first hard freeze | Sealing in the middle of a cold snap can prevent proper curing, which means redoing the work in spring. |
Why Winter Punishes Paver Driveways
Pavers themselves are rarely the weak point. The real problem is what happens around and beneath them. Water that seeps into unprotected joints or under the paver layer can freeze, expand, and push units out of position. Repeat that cycle enough times and you get raised edges, sunken patches, and joint sand that washes out after every storm.
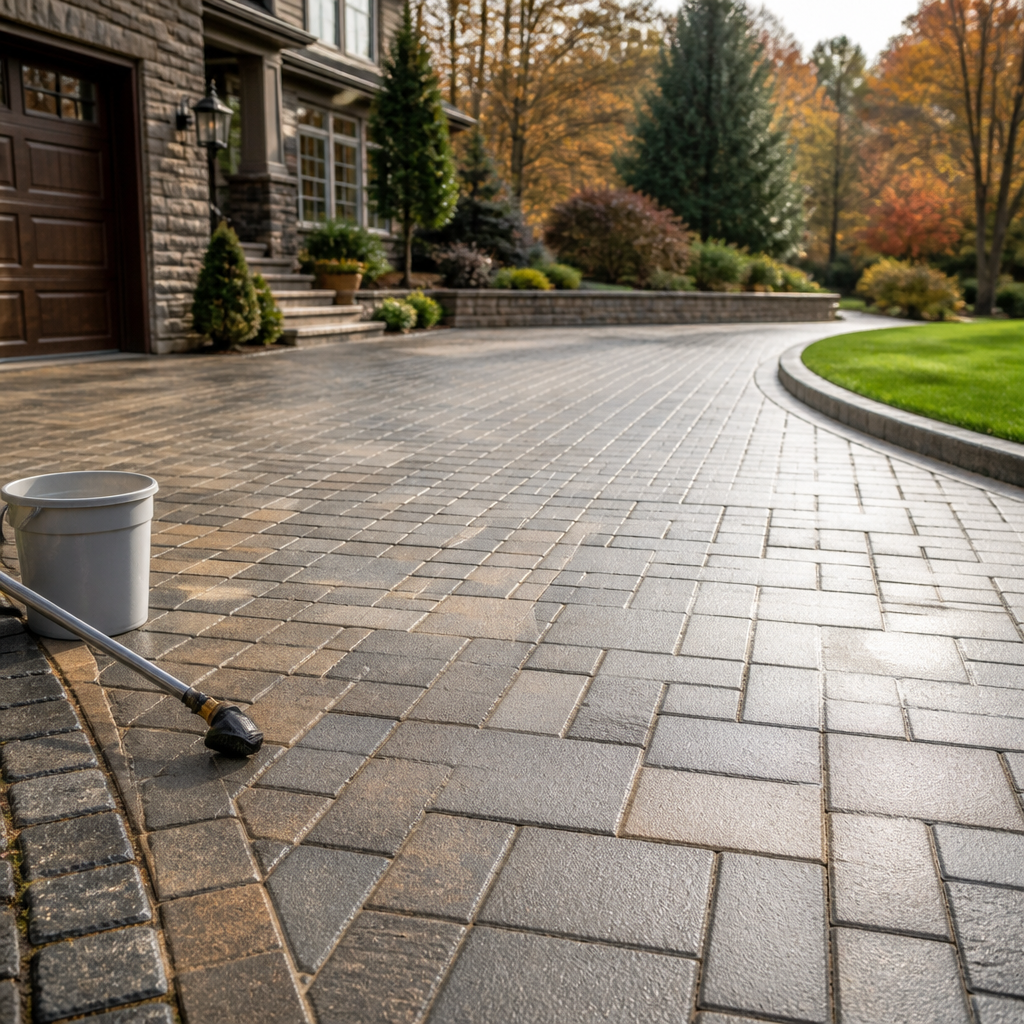
The Stone Store’s winter guide makes the same basic point: water that gets into unprotected joints or beneath pavers can freeze and cause shifting or cracking. Driveways take the worst of it because they carry vehicle weight on a surface already under freeze-thaw stress. A patio might see a handful of freezes. A driveway sees repeated cycles across much of the winter, and every thaw soaks the base again.
Freeze-thaw cycles in the base
The visible paver is only the top layer. Beneath it sit a bedding layer and a compacted aggregate base, and that base is where most winter damage begins. When it holds water, one hard freeze can heave a section of driveway enough to crack a unit or break a joint. Sealer will not fix a weak base, but it reduces how much water reaches the system in the first place.
Pavers that look fine in October can already be compromised underneath. If one unit rocks slightly when you step on it, treat that as an early warning, not a cosmetic issue.
Snow removal and salt exposure
Snow removal is where many driveways lose their surface. Metal shovels and plow edges scrape joint sand out, and ice-melt products can leave residue that dulls or etches the surface. Not every de-icer is gentle on concrete-based pavers, so read the label before you buy. We recommend a plastic shovel and a paver-safe product, and clearing snow before it compacts into ice.
Restoration Versus Routine Washing
Plenty of homeowners think a dirty driveway just needs a wash. A pressure wash removes grime, tire marks, and algae, and it can make a driveway look dramatically better in an afternoon. But washing alone does not rebuild the protective layer, re-stabilize loose joints, or correct a drainage problem. That gap is the difference between cleaning and restoration.
What restoration actually includes
Paver restoration is a sequence, and each step depends on the one before it. Crews inspect for loose or cracked units, clean the surface thoroughly, address joint material, correct minor settling where it is safe to do so, and then apply sealer once the surface is ready. Sealing over dirty joints locks grit into the finish. Sealing over loose sand gives you a surface that looks finished for a few months and then fails.
When a wash is enough
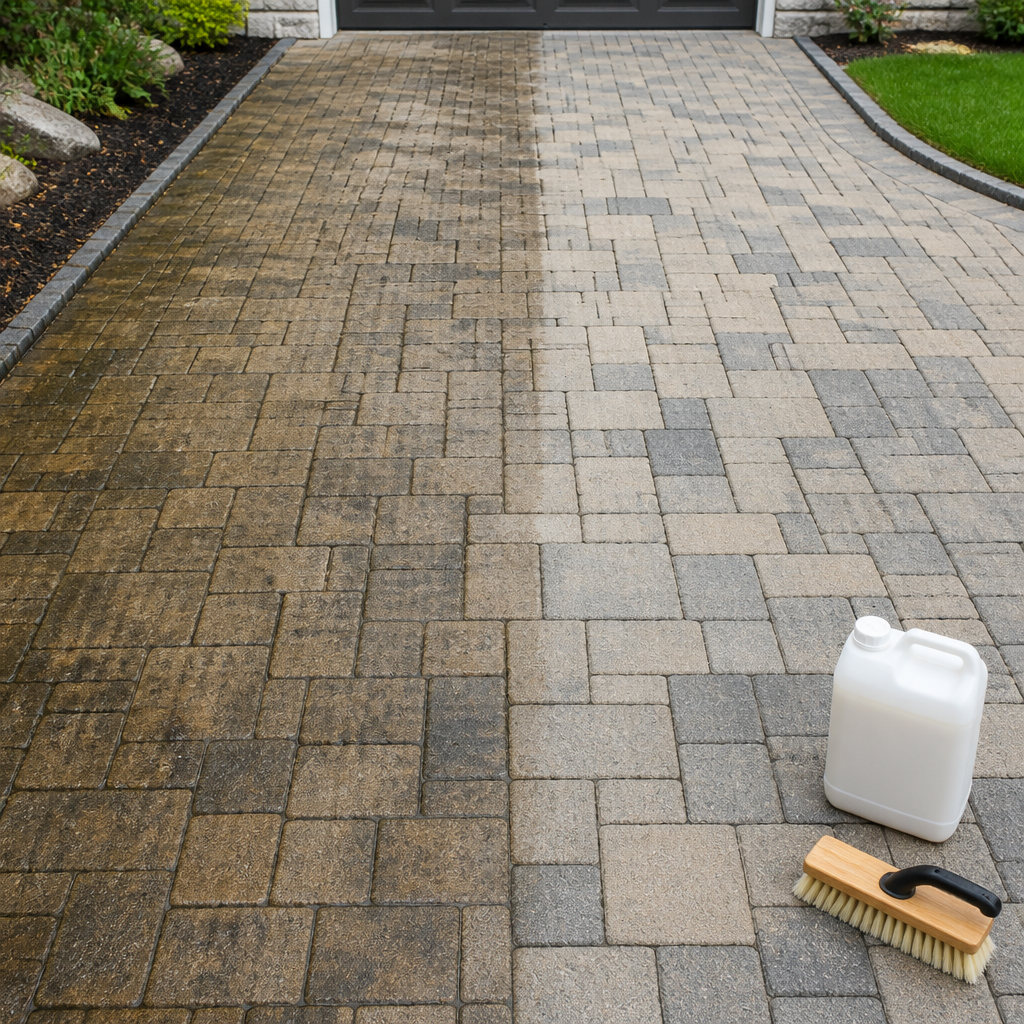
A cleaning-only job makes sense when the pavers are sound, the joints are full, and the existing sealer is still in good shape. If the pavers are dull or faded but otherwise intact, a wash followed by sealing is usually the right call. Our rule of thumb: if you would not want to see the current surface under a new coating, inspect and clean it first. Driveway cleaning in fall is often the fastest way to find out which situation you are in.
Cleaning and Drying Before You Seal
A sealer is only as good as the surface under it. Anything trapped below the coating, including dirt, oil, or efflorescence (the white, chalky salt deposits that surface on some pavers), can cause haze, poor adhesion, or uneven color. Cleaning is the step homeowners most often rush, and it determines how long the sealer lasts.
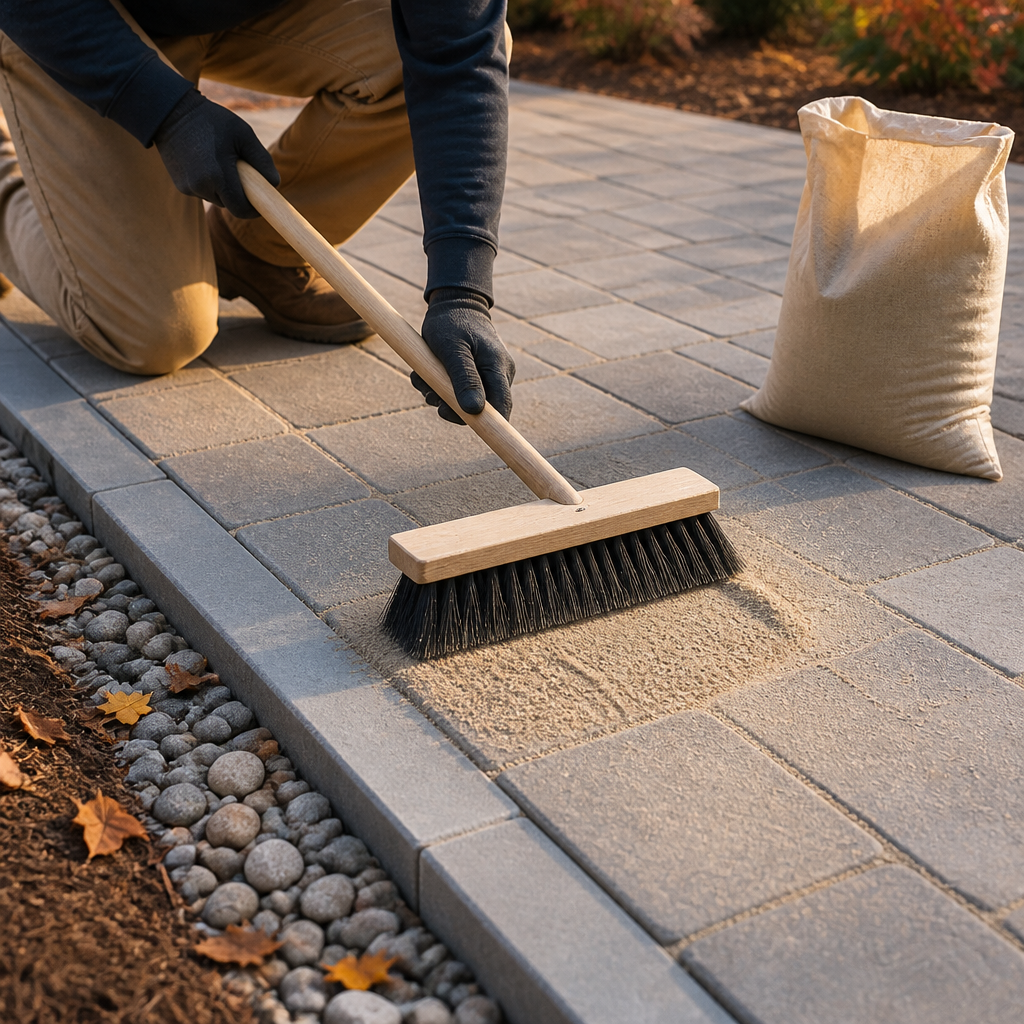
Removing leaves, tannin stains, and oil
Fall brings a specific problem. Wet leaves left on a driveway for a week or two leave dark tannin stains that look like shadows once the surface dries. Remove debris quickly, by hand or with a leaf blower, before it sits. Oil spots need a degreaser applied first. Blasting an oil stain with high pressure often drives it deeper and spreads it into a wider halo.
Giving the surface time to dry
Pressure washing adds water to the pavers and the joints. Sealing over damp material traps moisture, which is exactly what you are trying to keep out. Allow the surface and joints to dry completely after washing. A simple check is to sprinkle water on the pavers: if it beads, the surface is ready. If it soaks in and darkens the paver, keep waiting.
The base can stay damp longer than the top, so test several spots. Shaded sections, areas near the garage door, and low corners dry the slowest, and they are the places where sealer most often fails first.
Joints, Low Spots, and Drainage
Water is the enemy, and two things control where it goes: the joints and the slope of the surface. Half-empty joints let water sink straight into the base. Low spots act like small reservoirs, holding water right where the freeze hits hardest. Fixing both before winter is often the cheapest protection you can buy.
Refilling joints before sealing
Joint material should be full and level before sealing. Sand that has washed out over the season needs to be replaced and compacted, using jointing sand suited to your paver system. Sealing over empty joints leaves gaps that trap water and invite weeds. Do not overfill, either. A joint that sits above the paver surface becomes a trip hazard and collects debris.
Key insight: most winter paver damage begins with a small amount of water that had nowhere useful to go.
Finding the low spots water uses
Walk the driveway after a heavy rain, or hose it down and watch where the water collects. Those puddles mark your low spots. Often the fix is localized: relaying a few pavers to correct grade, or redirecting a downspout or gutter that empties onto the driveway. The Stone Store guide recommends making sure downspouts direct water away from hardscape areas, and that is one of the most overlooked fixes we see on residential properties.
Pro tip: Do the hose test on a dry day and mark each puddle with chalk. You will know exactly which spots need attention before you book a sealing date.
Sealer Types Compared
Not every sealer behaves the same way, and choosing the wrong type is a common reason fall projects disappoint. The two broad categories are penetrating sealers, which soak into the paver, and film-forming sealers, which build a coating on the surface. Each has a place, and the right answer depends on the paver material, the existing finish, and the look you want.
Penetrating sealers for porous pavers
Penetrating sealers are designed to soak in and protect from below without changing the surface much. For older or porous concrete pavers, that is often the safest choice, because it cuts water absorption without creating a plastic-looking film that can peel. The trade-off is a more natural finish with less color pop.
Film-forming sealers and the wet look
Topical sealers bond to the surface and can deepen color or create a glossy, wet finish. They look dramatic when applied correctly, but they are less forgiving. Applied over damp pavers or dirty surfaces, they can haze, blister, or peel. They also need a recoat schedule. Choose a film-forming product only if you are committed to that upkeep.
| Approach | Best Fit | Main Trade-off |
|---|---|---|
| Penetrating sealer | Porous pavers that need water protection with a natural look | Little visible color enhancement, and the look stays close to the original |
| Film-forming sealer | Pavers where a wet look or richer color is the goal | Prone to haze or peeling if applied over moisture or contamination, and needs recoating |
| Cleaning only, no sealer | Recently sealed pavers in good shape, or jobs where sealing is delayed | Adds no new protection against water absorption, so winter risk remains |
If you are unsure which route fits your driveway, the surface itself usually answers the question. Pavers that drink water quickly after a wash need protection. Pavers that already carry a sound, intact sealer may only need a clean and a light refresh.
Timing Your Fall Driveway Job
Timing is where most fall projects succeed or fail. The Portland Rock winter care guide for large-format concrete pavers describes October as the last chance to complete maintenance before freezing temperatures arrive, and that matches what we see across Sparta, Andover, Lafayette, and Newton each season. Working backward from your expected first hard freeze gives you a real schedule instead of a guess.
Working backward from the first freeze
Plan roughly in three stages: inspection and repairs first, then cleaning, then sealing once the surface is completely dry. Build in a buffer for weather, because one wet week can push back the whole schedule. Book early in the season, since crews fill up as the leaves start coming down.
Pro tip: Clear gutters and the edges of the driveway before cleaning day. Leaves that drop back onto freshly washed pavers can stain them again within a day or two.
Mistakes that cost a full season
The most expensive mistake is sealing too late. Sealing in the middle of a cold snap can prevent proper curing, and the job may need to be redone in spring. The second mistake is skipping the drying step. The third is choosing a sealer by price instead of suitability. Pick based on your paver type and current surface, and read the product’s application instructions closely, including temperature limits and recoat timing.
If you want a second set of eyes on your driveway before the weather turns, reach out for a free quote. We can look at the joints, drainage, and surface condition before anyone commits to a sealing date.
Frequently Asked Questions
Yes, as long as the surface is clean, fully dry, and you have a stretch of dry weather to work with. Check the application temperature range on the sealer label, because cold weather can slow curing. The main risk is starting too close to a hard freeze.
Wait until the pavers and joints are completely dry, not just dry on top. The water-bead test works well: if water beads on the surface, the paver is ready. If it soaks in, keep waiting. Shaded areas and the base often take longer than the open sections.
No. Sealer reduces water absorption and staining, but it cannot fix a poor base or a drainage problem. Refilled joints, correct grade, and downspouts that direct water away from the driveway matter just as much as the sealer itself.
Yes. Sealing over dirt, oil, tannin stains, or efflorescence traps those contaminants under the coating. Clean first, let the surface dry completely, and then seal. Skipping the cleaning step is one of the most common reasons sealer fails within a season.
A small patio or walkway is a reasonable DIY project if you are careful about drying time, joint filling, and even application. A full driveway is harder, because overspray, uneven coverage, and rushed drying can show up quickly. If you have a large or high-visibility surface, a professional job is often worth the cost.
We serve Sparta, Andover, Lafayette, Newton, and nearby communities including Franklin Lakes, Wyckoff, Mahwah, and Ramsey. If your driveway is in one of these areas, reach out for a free quote and we will confirm scheduling and the best sealing window for your property.
What has your driveway looked like after its first North Jersey winter, and did you seal it beforehand?
References
Ready For A Clean Home?
Schedule Quality Sparta Power Washing Today!